


Hello My Dear Friends.. Today in this blog i am going to tell you that how to create an APPLE id without creadit cards..
So Lets See All Of You Friends..
So Lets See All Of You Friends..
- Click iTunes Store (on the left side of the iTunes window), and pick your country by clicking the appropriate country flag located in the bottom-right corner of the main iTunes Store page.
- Navigate to the App Store by clicking on App Store from the top navigation bar.

- Important: Before proceeding to the next step, you must download and install a free application. To find a free application, navigate to the Top Charts column on the right side of the App Store window. Scroll down until you see the list of Free Apps. Select any application by clicking on it. Then, click Free App underneath the application icon.

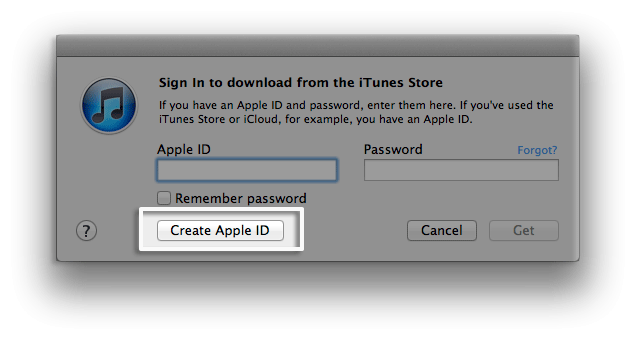
- In the pop-up window, click Create Apple ID.
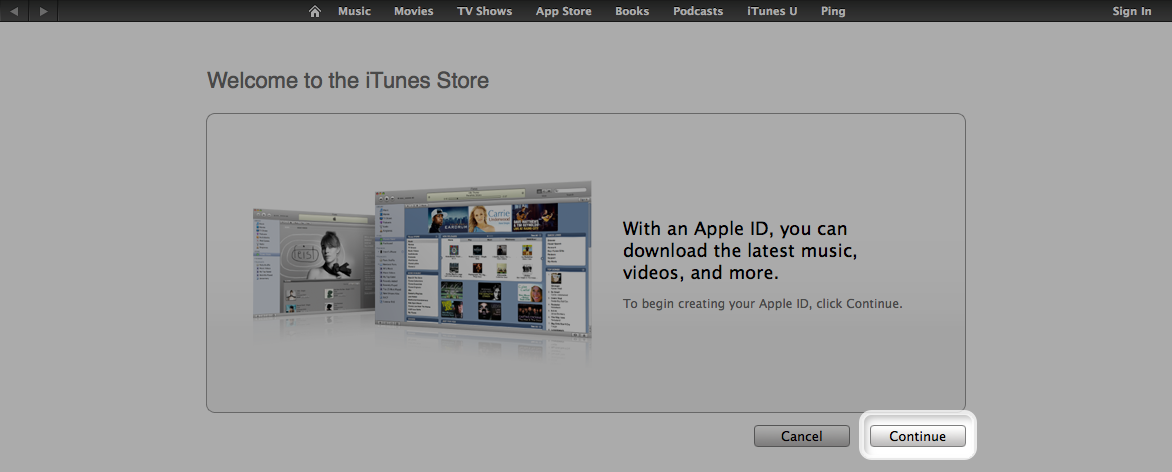
- You are directed to the "Welcome to the iTunes Store" screen. Click Continue.
- You'll need to read and agree to the iTunes Store Terms & Conditions. Make sure you select the checkbox next to "I have read and agree to these terms and conditions."
- Click Continue.
- Enter your email address, create your password, continue to create and answer your security questions, and then enter your birthday.
- You can also enter an optional rescue email address. If you frequently change email addresses, this is recommended.
- Once you are satisfied with the information entered, click Continue.
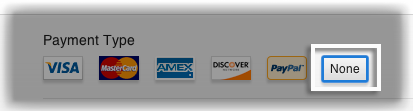
- Select None as the payment type.
- Continue to fill out the required name and address fields.
- You'll then see a "Verify your Account" screen. Click Done, and then check your email for a verification email from iTunes Store.
- Open the email, and click the link enclosed in the email to activate your account.

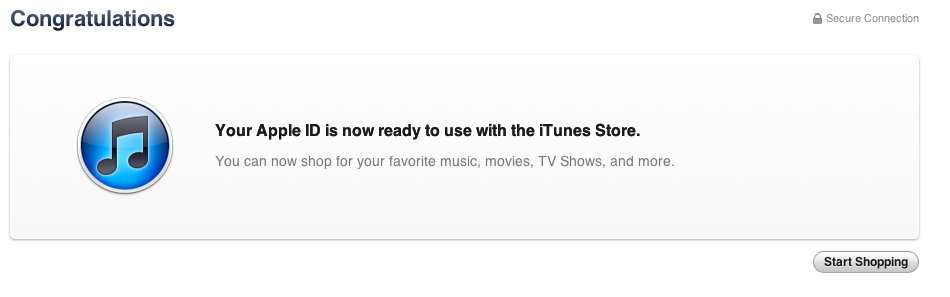
- Once you click on the link, the Apple ID website should ask you to sign in with your account name and password.
- After signing in, you should see that your email address is associated with your Apple ID. A button labeled "Return to the Store" should appear.
Thats It.. If You Like This Then Please Comment Below..
Categories:
WEB TUTORIALS


0 comments:
Post a Comment